Microsoft Teams
Integrate Monte Carlo with Microsoft Teams
Monte Carlo integrates directly with Microsoft Teams through an app available in the Microsoft Teams Store. It allows anomaly detections to be sent to any public channel in your workspace for quick triage and collaboration. This guide explains how to receive notifications from Monte Carlo in Microsoft Teams.
More context about this app is available in Microsoft's documentation.
Integration Setup
-
Go to Settings > Integrations to Add a new Integration.
-
Scroll down to the Notifications and Collaboration section. Click Create and select Microsoft Teams. You will be redirected to the Teams Store to install the Monte Carlo app for Teams.
-
In the Monte Carlo Data app (in the Microsoft Teams Store), press the Add to team button.
The app may require approval from your IT Admin. If that’s the case, press the Request approval button, and your IT Admin will need to approve it (you can refer to this guide from Microsoft).
You can review the permissions that will be granted to the app in the Permissions tab. The app’s manifest requests the following permissions: ChannelMessage.Read.Group, TeamsActivity.Send.Group, and ChannelSettings.Read.Group.
-
Then, select a channel within the team where you want to integrate Monte Carlo. This channel will only be used to send a welcome message, which is necessary to complete the integration.
Note 1: The welcome message will only be sent if the app is not already installed for the team. If it is already installed, you will need to uninstall it and then add it again to receive the welcome message.
Note 2: You can repeat this process multiple times to install the app in multiple teams.
Note 3: To ensure Monte Carlo can send the welcome message, the channel’s moderation settings should allow anyone to post messages.
-
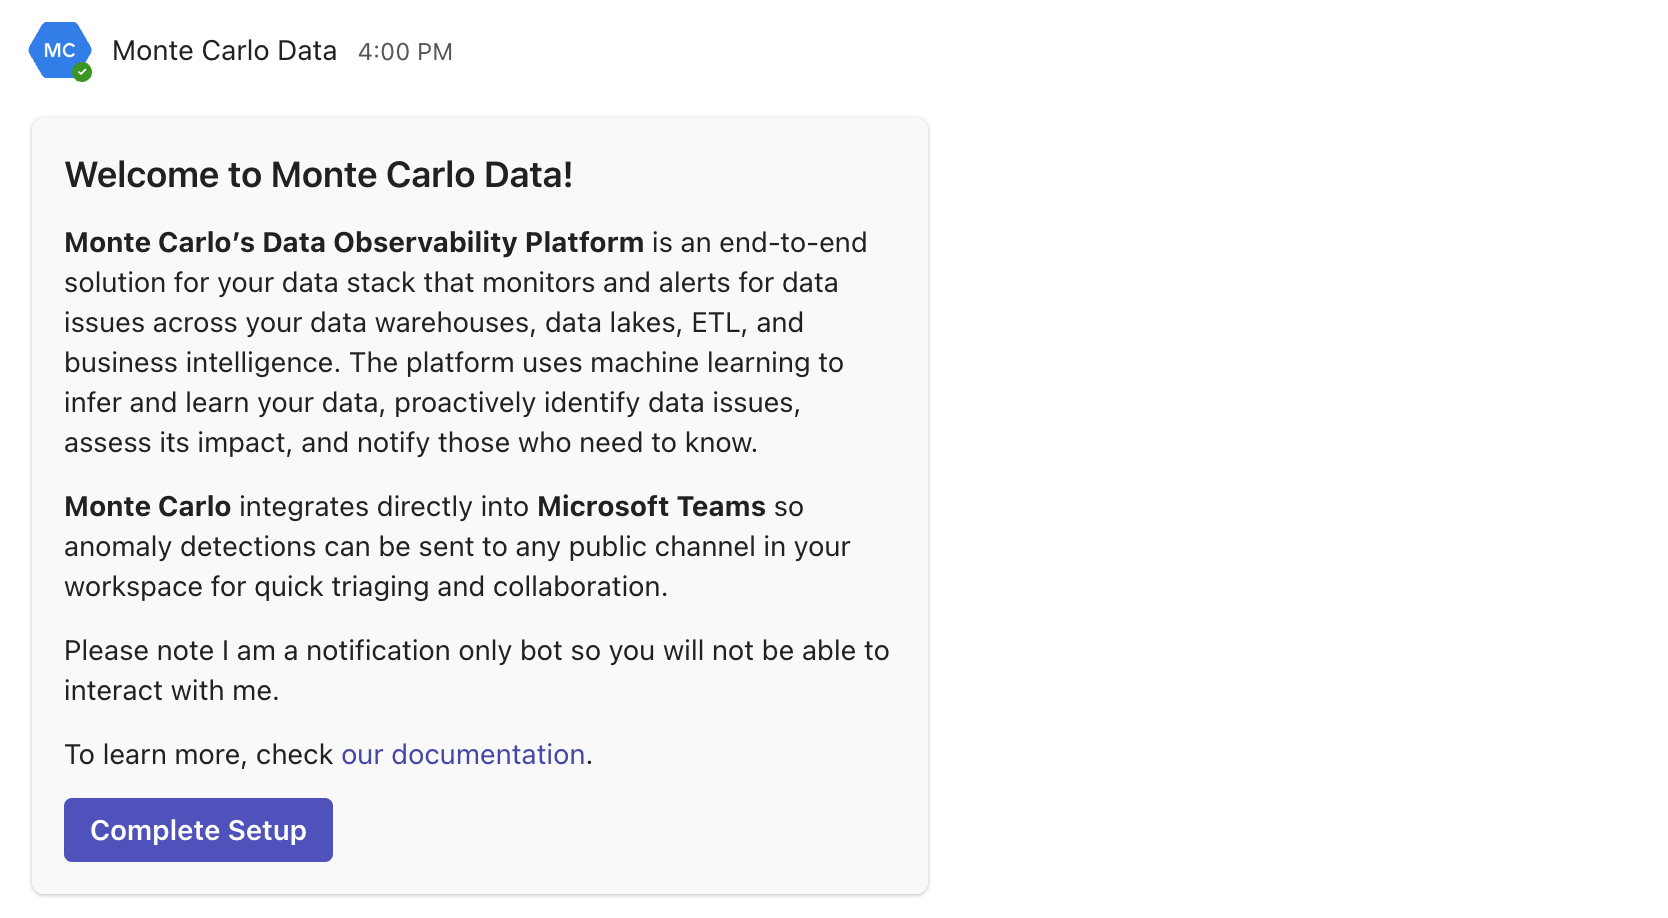
You will receive the welcome message in the selected channel. To complete the integration, press the Complete Setup button at the bottom of the message. It’ll open Monte Carlo and associate the Teams app with your Monte Carlo account.

-
After completing the linking process, you will see the new Microsoft Teams integration in the Notifications and Collaboration section (in Settings > Integrations)
-
Now you can use it as a recipient channel to send notifications to your audience there
Configure Microsoft Teams as Recipient Channel
-
Go to Settings > Notifications.
-
Create an audience or edit an existing one.
-
Define a new recipient channel and select Microsoft Teams.
-
Select the channel where you want to send notifications to the audience.
Duplicate channel namesIf you have multiple teams integrated, you will see all the channels. If there is a channel with the same name in different teams, a suffix is added to the channel name to indicate the team it belongs to.
-
Finally, you can send a Test Notification and check if it is received on the channel; or you can add the recipient channel and save the audience.
Migrate old integrations using Incoming Webhooks
Previously, Microsoft Teams was integrated using the Incoming Webhook connector. Microsoft has deprecated these connectors (more information with dates here). If you have recipient channels defined with the previous Microsoft Teams integration, you will see a message indicating that they must be migrated as shown below (however, you will still receive notifications through that channel while Microsoft keeps this functionality working).

To migrate, follow the guide above to configure the new app in Microsoft Teams. Then, update the defined Microsoft Teams recipient channels in the audiences by selecting the new Microsoft Teams integration (you need to change Microsoft Teams (deprecated) to Microsoft Teams in Recipient channel). Finally, choose the channel where you want to send notifications. Once you save these changes, new notifications will use the new integration.
Updated 10 days ago
