Snowflake External Tables
Overview
Snowflake External Tables allow you to query data stored in external cloud storage without having to load the data into Snowflake's internal storage. The source of truth for the data remains in the external cloud storage. Leveraging Monte Carlo's Snowflake integration, you can monitor the external tables for schema, volume and freshness changes.
File Formats
Snowflake supports creating external tables from the following file formats:
- CSV
- JSON
- Parquet
- Avro
- ORC
- Delta
- Iceberg
File type support is controlled by Snowflake. Please reach out to Snowflake if you need additional file formats supported.
Steps
Already have external tables in Snowflake?If you already have external tables created in Snowflake, skip to Add Snowflake integration in Monte Carlo.
- Review the workflow for you cloud storage provider to create external tables in Snowflake.
- Add Snowflake Integration in Monte Carlo.
- Create Table Monitors for the external tables in Monte Carlo.
Create Snowflake External Tables
You can follow the example workflow for your cloud storage provider to create external tables in Snowflake. For detailed instructions, configuration options, and limitations, refer to the Snowflake documentation.
AWS S3 workflow
The following steps provide a high-level example of how to create external tables in Snowflake from your S3 files. For detailed instructions and other options, see Refresh external tables automatically for Amazon S3:
- Create a named stage object (by using CREATE STAGE) that references the external location (that is, S3 bucket) where your data files are staged.
- Create an external table (by using CREATE EXTERNAL TABLE) that references the named stage.
- Manually refresh the external table metadata by using ALTER EXTERNAL TABLE … REFRESH to synchronize the metadata with the current list of files in the stage path. This step also verifies the settings in your external table definition.
- Configure an event notification for the S3 bucket. Snowflake relies on event notifications to continually refresh the external table metadata to maintain consistency with the staged files.
- Manually refresh the external table metadata one more time by using ALTER EXTERNAL TABLE … REFRESH to synchronize the metadata with any changes that occurred after Step 3. Thereafter, the S3 event notifications trigger the metadata refresh automatically.
- Configure Snowflake access control privileges for any additional roles to grant them query access to the external table.
Google Cloud Storage workflow
The following steps provide a high-level example of the setup and load workflow for external tables that reference Google Cloud Storage (GCS) stages. For detailed instructions and other options, see Refresh external tables automatically for Google Cloud storage:
- Configure a Google Pub/Sub subscription for GCS events.
- Create a notification integration in Snowflake. A notification integration is a Snowflake object that provides an interface between Snowflake and third-party cloud message queuing services such as Pub/Sub.
- Create a named stage object (by using CREATE STAGE) that references the external location (that is, GCS bucket) where your data files are staged.
- Create an external table (by using CREATE EXTERNAL TABLE) that references the named stage and integration.
- Manually refresh the external table metadata one time by using ALTER EXTERNAL TABLE … REFRESH to synchronize the metadata with any changes that occurred after Step 4. Thereafter, the Pub/Sub notifications trigger the metadata refresh automatically.
- Configure Snowflake access control privileges for any additional roles to grant them query access to the external table.
Microsoft Azure workflow
The following steps provide a high-level example of the setup and load workflow for external tables that reference Azure stages. For detailed instructions and other options, see Refresh external tables automatically for Azure Blob Storage:
- Configure an Event Grid subscription for Azure Storage events.
- Create a notification integration in Snowflake. A notification integration is a Snowflake object that provides an interface between Snowflake and third-party cloud message queuing services such as Microsoft Event Grid.
- Create a named stage object (by using CREATE STAGE) that references the external location (that is, Azure container) where your data files are staged.
- Create an external table (by using CREATE EXTERNAL TABLE) that references the named stage and integration.
- Manually refresh the external table metadata one time by using ALTER EXTERNAL TABLE … REFRESH to synchronize the metadata with any changes that occurred after Step 4. Thereafter, the Event Grid notifications trigger the metadata refresh automatically.
- Configure Snowflake access control privileges for any additional roles to grant them query access to the external table.
Add Snowflake Integration in Monte Carlo
Now that you have external table(s) created in Snowflake, we can add a Snowflake integration in Monte Carlo to monitor the external tables.
First, refer to the Connecting to Snowflake guide for details on creating a service user, managing permissions, and related setup (such as network configuration).
If you’ve already integrated Snowflake with Monte Carlo, you can skip this step. If you’d like to confirm access to a specific asset, you can do so from the Integration Settings page.
Onboard Snowflake Integration
Once you have the Snowflake service user created and are ready to connect, you can add a Snowflake integration using the onboarding wizard. Integrations can also be added via the CLI or API if you prefer.
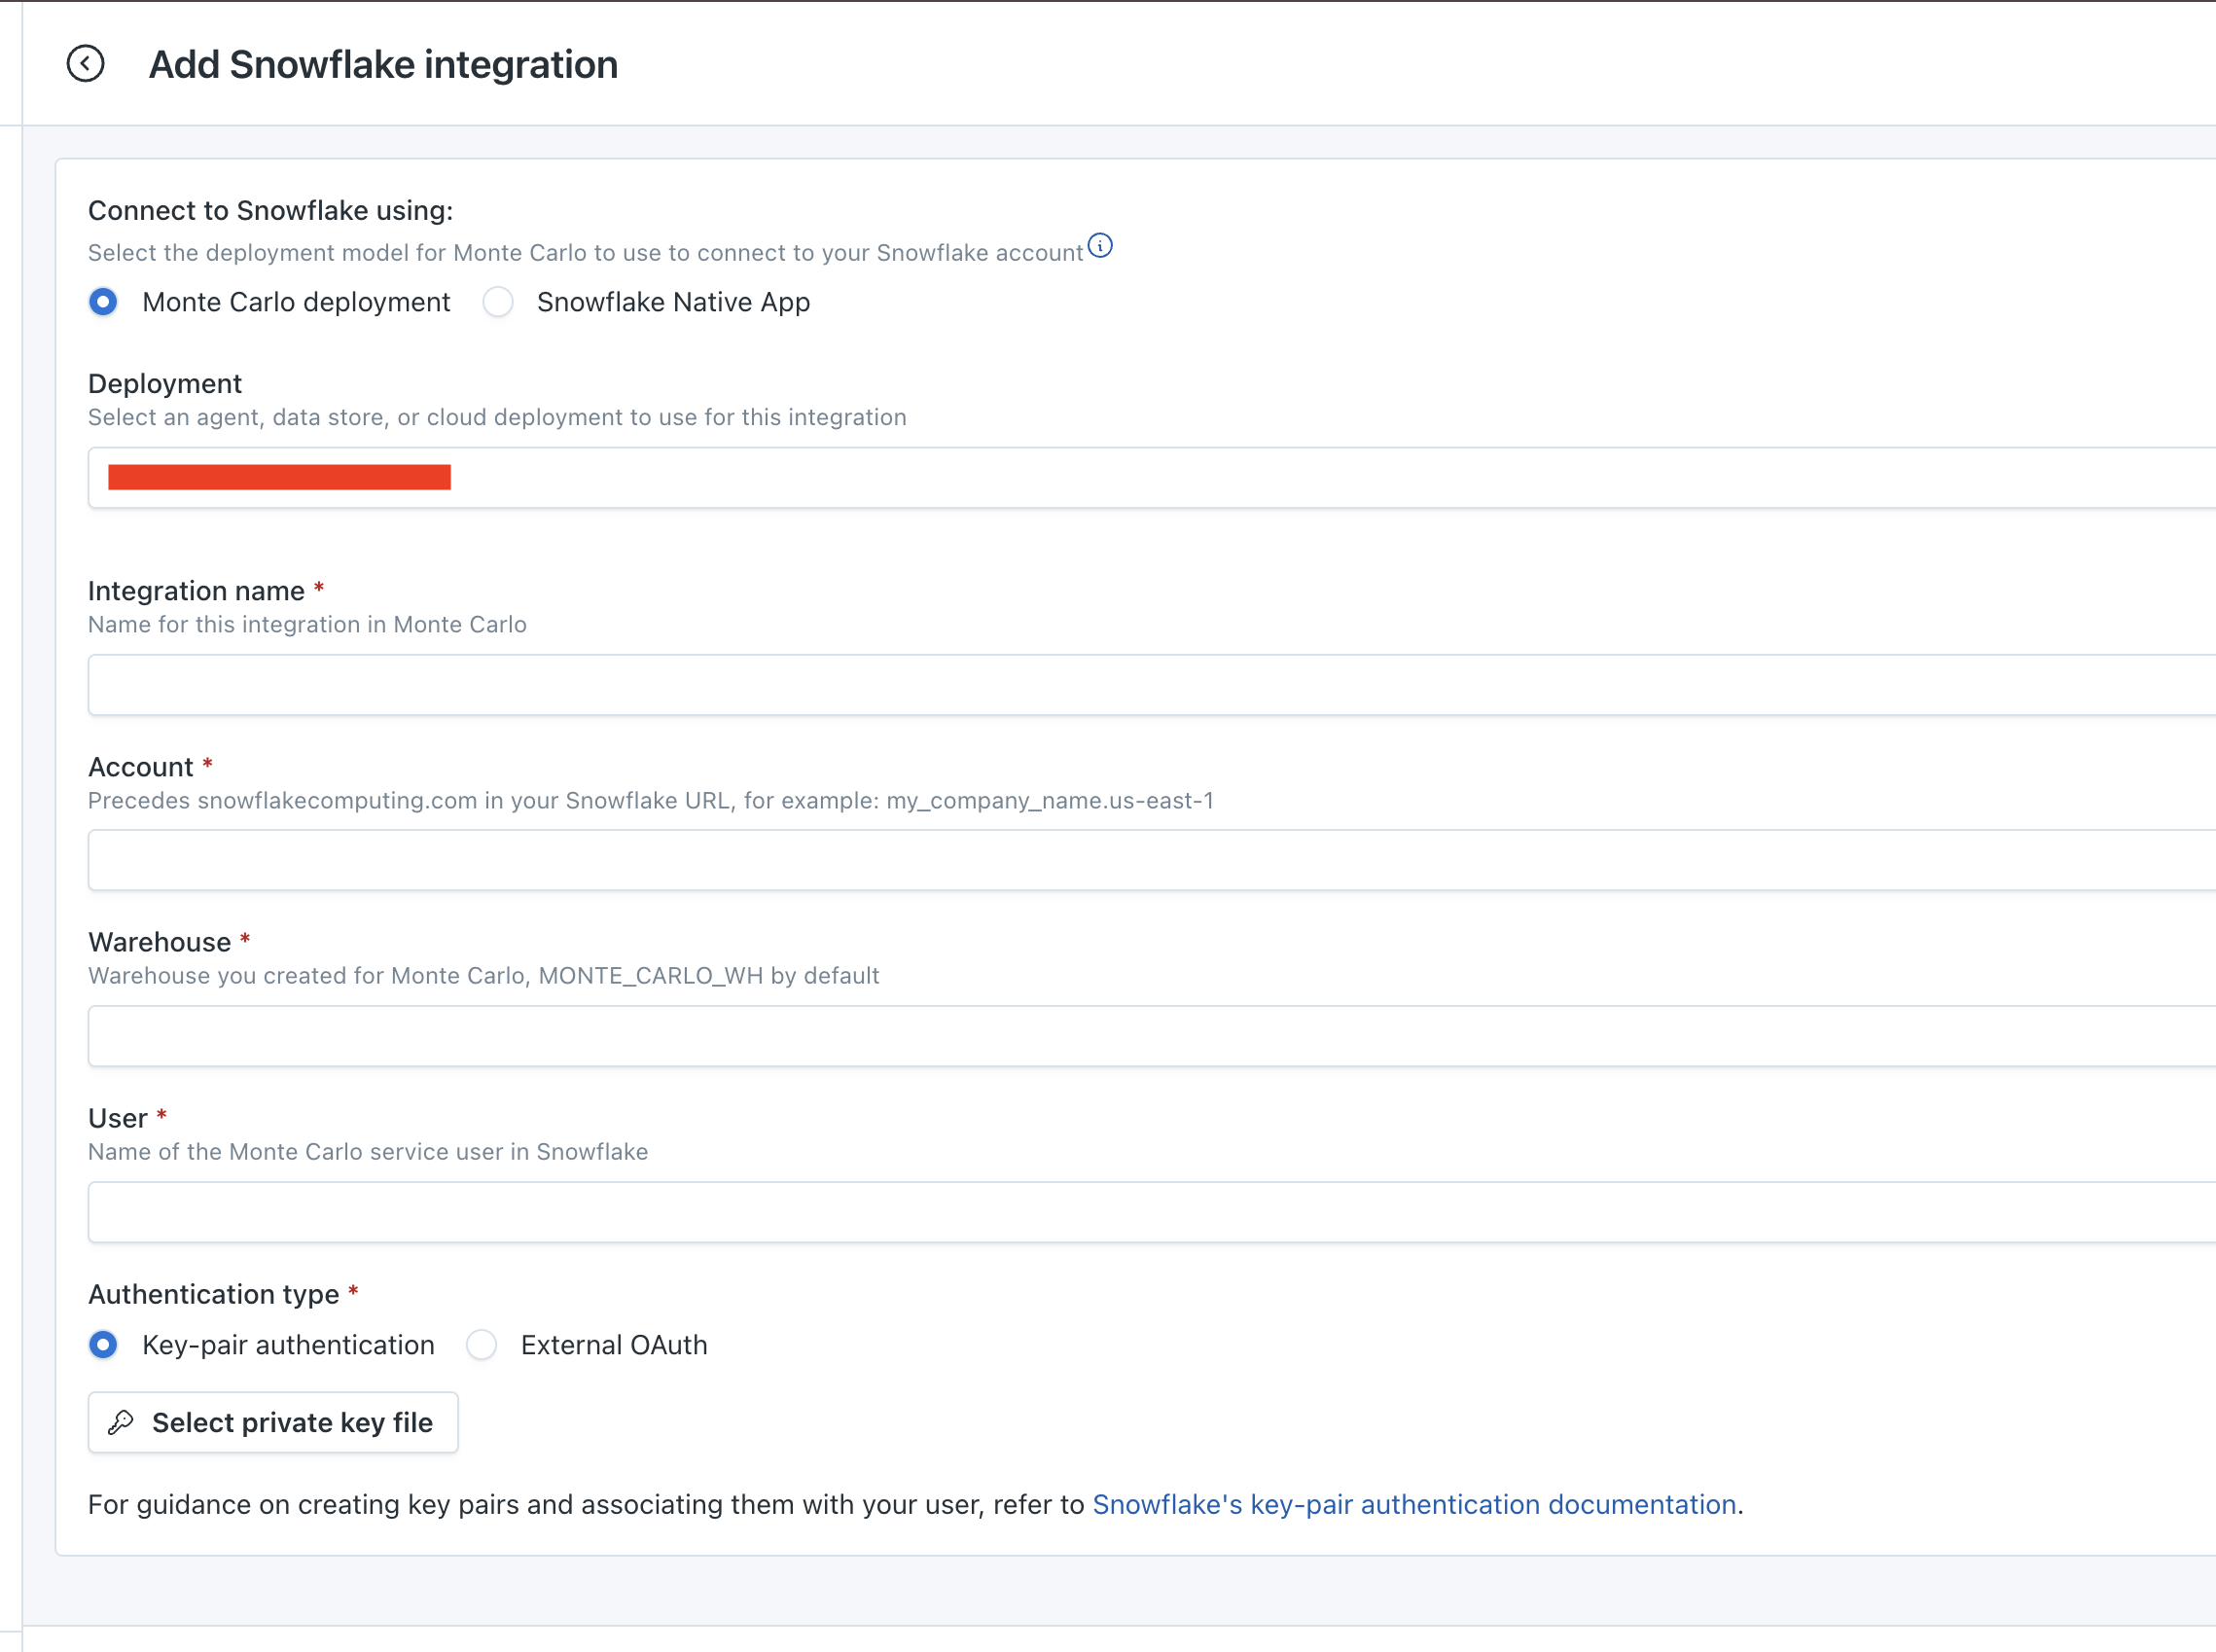
Deployment: [Optional] If you have multiple deployments already in your Monte Carlo account, choose the deployment you want to use for this integration. If you do not have multiple deployments, this field will not be shown.Integration name: The user-friendly name for this integration.Account: This would be the part that precedes snowflakecomputing.com in your Snowflake console URL. For example, if you use the URL https://xyz12345.us-east-1.snowflakecomputing.com/ to access Snowflake, your account name will be xyz12345.us-east-1.Warehouse: The name of the warehouse you chose while creating the service user, MONTE_CARLO_WH by default.User: The name of the service user created, MONTE_CARLO by default.Authentication type: The authentication type you are using. Depending on the selection you will be asked for the relevant credentials for that authentication type. In the screenshot above key-pair authentication has been selected so the wizard is asking for a private key file.
Create Table Monitors on External tables
With the Snowflake integration in place, you can create table monitors for schema, freshness, and volume on your external tables. See our guide on creating table monitors.
You can also create additional monitors types if you’d like (e.g., custom).